Recent Posts


Hello!
So let's talk about brushes today! I'm not an expert when it comes to brushes, but I do know what I like (and what I don't like) about the brushes that I've used over the past 3-4 years. So the three brands that I've used (other than ELF brushes) are: Crown Brush, BH Cosmetics, and Sigma.

CROWN BRUSH:

LinkCrown Brush

These were my first ever brush set that I bought from Hautelook for $20 (affordable). I love the pink color, it's so pretty! I would recommend this brush set for any any makeup beginners. This set has all the brushes you'll need for a beginner. I like a lot of these brushes, but the eyeliner brush is not for me because when I use it to apply my gel liner, the line is not thin and that just doesn't work for me. The line that the brush creates isn't flattering. As for the lip brush, I've never really use, so I don't have much to say about it. All of the other brushes, however, I do like. For example, the smudger brush is awesome! I use it to smudge out my pencil liner, and my eyeliner looks good! It's very easy to use and works very well. The foundation brush is standard and will do it's job, but it does leave some streaks. Since I don't use powder foundation, what I would do is that I'd use the powder brush to blend out the streaks, which makes my foundation look more natural. The blush brush and the eyeshadow brushes are standard and I use them everyday. The crease brush works really well, but I tend to use it more for the outer corner (outer V) of my eyes.

The quality of the brushes aren't bad, but my only issue is that my powder brush's pink paint has cracked. I'm not sure why it did, my guess is that water may have caused it to cracked over a long period of time. What I don't get is that it only happened to my powder brush, so I'm not sure if it's the water, since I wash all of my brushes together. Other than that, the brushes are fine, they're not bad for beginners and is good for travel.


BH COSMETICS:

Link
Brush Set: LINK

These are my second brush set that I own. This set is also good for beginners, and they are relatively cheap on Hautelook, but on the BH Cosmetics website, it's on sale at the moment for $11.95 (super cheap!). In my opinion, I like the feel of these brushes more than the Crown Brush set. The quality is good, especially for the price you pay! The hair on these brushes feel like they're better quality in comparison to Crown Brush. I use 9/10 of these brushes on a weekly basis (the only one I hardly use is the lip brush). The way these brushes apply feels better than the Crown Brushes; they blend better in my opinion. The foundation brush is standard, but still leave some streaks. The powder brush is what I use to blend out the foundation, which apply more smooth than the powder brush from Crown Brush. I also use the powder brush to apply blushes! The blush brush is good as well. The eyeshadow brush is nice and standard. I like that this set has a blending brush for eyeshadow, which my Crown Brush set does not have, which is a plus. The crease brush is great; I feel that it applies my eyeshadows in the outer corner V very nicely and smoothly on my lids (smoother than my Crown Brush crease brush). It blends smoothly. I love it! As for the other brushes, they're standard and are okay. Overall, I like my BH Cosmetics brushes more than my Crown Brushes. This set is great for travel. The only downside is that the set only has 10 brushes, and it does not have the lash brush or the eyebrow brush.

My only issue with this is when I first received this set in the mail, it has a funny scent to it. It smells weird and chemically. I washed the entire set and it still has a funny smell. After a few washes, the smell goes away. Other than that, it's great!

SIGMA BRUSHES: 


Flat Top Kabuki F80 Brush: LINK
10% OFF Brushes & products: DEC2014
(Code expires December 31, 2014)

 Link

Wide Shader Brush: LINK
10% OFF Brushes & products: DEC2014
(Code expires December 31, 2014)

Sigma brushes are AMAZING!~ I've only tried two brushes, but both are super awesome!

My first Sigma brush is the E59 Wider Shader brush (eyeshadow). This is the best eyeshadow brush I've ever use, hands down. This brush picks up a lot of the eyeshadow and applies it smoothly, making the eyeshadow look more pigmented. It is dense so it picks up more eyeshadow than any other shadow brushes I've ever used, and I don't have to dip into my eyeshadow so many times to try to get more eyeshadow. I usually dip my brush into the eyeshadow about 2-3 times with this Sigma brush, whereas for the other shadow brushes, I dip over 5 times just to get the eyeshadow. I love this brush sooo much! It's Ah-Mazing! Words can't describe how amazing it is and how much I love it.

The second Sigma brush I own is the F80 Flat Kabuki. I LOVE LOVE LOVEEEEE this brush. To think that the Wide Shader is amazing, this brush beats it 100 times, hands down! This is THE BEST foundation brush I've ever used. This is one of Sigma's bestseller, and here's why: it blends the foundation so well and so smoothly, while making the foundation look flawless! The flat top helps make it blend out foundation smoothly all over the face. The brush is dense, which makes me feel like the foundation is picked up and sits evenly at the end of the bristles. Other foundation brushes picks up the foundation unevenly, where certain parts of the brushes will have more foundation than others. When I use the F80 brush to blend out my foundation, it does not leave steaks and it blends my foundation evenly, leaving my face looking flawless and natural. When it use this brush, my heart flutters because that's how awesome it is. Words can't describe how much I love this brush, even more than the eyeshadow brush!

These two brushes are great for beginners, amateurs, and even professionals. The only downside is that they are pricier than Crown Brushes and BH Cosmetics brushes, but I feel that they are worth every penny. If you're looking to invest into amazing quality brushes, I would definitely recommend Sigma brushes. The brush sets will be a good investment, since you will save more money buying the set, rather than individual brushes. I'm actually saving up to buy a set of my own, since I feel that I want to invest in good quality brushes that will give me amazing results.


Brush Sets: LINK
10% OFF Coupon: DEC2014
(Code expires DEC 31, 2014)

I'm not sure which to get yet, maybe one of the essential kits to start off and see how I like the brushes, and maybe I will invest in more brushes in the future. If any of you have the set, please let me know how you like it, and which one you own.

Also, if you invest in good quality brushes like the Sigma Brushes, be sure to take really good care of them. I would recommend looking for tips on how to take care of your brushes and maybe get a brush tree (picture below) to dry your brushes for when you wash them.
Brush Tree: LINK

If you are a beginner at makeup and you don't want to spend so much money on brushes, I would recommend looking into either Crown Brush or BH Cosmetics. Other brands I've heard about are Real Techniques and Japonesque. If you want to invest in really good brushes, I would recommend Sigma for anyone out there.

So that's all I have for today. I hope my reviews/opinions are helpful to you. Hope you all have an amazing day. Bye!

Love,
June♥ 


Hi Girlies!

Let's talk about Makeup Starter Kits! When I first began to wear makeup, I wasn't too sure of what kind of products I should use, especially since there are so many different products out there. Needless to say, I was overwhelmed... and because no one in my family wears makeup, I had to experiment. I had to try out different products to see for myself what works and what not, which everyone eventually has to because of their own skin types and preferences. However, there are a few things that I personally think all beginners should start with - a starter kit. This starter kit is more geared towards younger girls, in particularly high school girls...and some middle school girls. The kit will contain some basic makeup products that makeup beginners should start with, which means a lot of the makeup are more natural, nothing too out there. Ok! So let's get into it! ^_~

1. BB CREAM/CONCEALER/FOUNDATION/POWDER
For any girls who want to even out their skin tone but still look very natural, with very little coverage, I would recommend using a BB (blemish balm) or CC (color correcting) cream. In my opinion, they have sheer coverage and are very natural looking. You can also use a powder, which gives you natural coverage. If you want something sheer, try using a loose powder. If you need a bit more coverage than a loose powder, try using a pressed powder. Now if you want a tad more coverage than this, use a wet sponge or a wet brush to apply the pressed powder. Pressed powder can be applied wet or dry, depending on how much coverage you need.

I would recommend using only a concealer if you only need to even out your skin tone and maybe conceal some of the blemishes that you might have. For example, you have dark circles that you might want to conceal to make yourself look more awake. One that I would recommend is the Maybelline Fit Me concealer. I like the consistency of it, and how natural it looks on the skin, not to mention that it is affordable~

As for girls who would like to have more coverage because they want to conceal their acne/scars/etc, I would recommend using liquid foundation and setting it with a powder, loose or pressed, depending on whether or not you need more coverage. For girls with oily skin, try using a powder with more of a matte finish. For girls with dry skin, you can use just liquid foundation alone or with a translucent loose powder to set it.  I would recommend the Chanel Vita Lumiere Aqua foundation (Sheer-Medium coverage) for those who have dry skin...and the Estee Lauder Doublewear (Medium to Full coverage) for those who have oily skin.

2. EYELINER (PENCIL/GEL/LIQUID)
Pencil liners are probably the easiest to start with because it is the easiest to control. Pencil liners with the smudger tool at the end is something that I would recommend to someone who is new at makeup. Why? Well, it is easier to line your eyes and use the smudger tool to smudge out your eyeliner to make both eyes look even. It gives you the smokey look, and if you mess up and smudge it out, people tend not to even notice because of its smokey effect. Whenever I get lazy with my eyeliner, this is the method I use to quickly apply eyeliner. The only downside is that most pencil liners tend to smudge/smear easily for those who have more oily lids, like myself. I haven't found one that doesn't smear on me, even when it says "smudge/smear free." A good pencil liner is the Urban Decay 24/7. I like the way it applies (how smooth it is) and how long-lasting it is, but it does kind of smear a bit on me because I do have oily lids.

Gel liners are probably the second easiest (at least for me) to apply. The product goes on smoothly, and the eyeliner brush gives you decent control. For me, the brush makes it easier to wing out the line ; it also makes it somewhat easy for me to make the wings even (I use the brush to eyeball-measure my line...weird I know). The Maybelline EyeStudio gel eyeliner is probably my favorite gel liner and I would totally recommend it for any beginner.

Liquid liners are awesome because they are usually long-wearing and are smudge free (for oily lids). However, they are probably the hardest to control. Liquid liner pens are better than ones with the tiny long brush tip in my opinion, because they're easier to control. Liquid liners give you the ability to make thin, clean, and sleek strokes, and you can build up the thickness of the line if you prefer thicker lines. I love liquid liners, but they take more time to master. Two of my favorite drugstore liquid liners are the Maybelline Line Stiletto and the L'Oreal Infallible The Super Slim.

3. EYESHADOWS
For beginners, I would recommend starting off with more natural/neutral colors (such as browns, taupes, blacks) rather than bold colors. Neutral colors are basic colors! Seriously, you can't go wrong with neutrals because they're everyday colors and are for any occasions. For girls who are in high school, it is best to come to school with natural eyeshadow colors.

For those starting off, I would recommend getting a neutral palette. For more affordable palettes, try the Maybelline The Nudes palette or Wet N Wild Comfort Zone palette. If you want to invest in a great quality eyeshadow, I would recommend the Urban Decay Naked (original) palette or Urban Decay Naked Basics palette.

4. LIPS (LIPSTICK & TINTED LIP BALM) 
For makeup starter, I would suggest starting with a tinted lip balm. It gives the lips more color, but at the same time, it moisturizes the lips. Most tinted lip balms are more sheer but are buildable in terms of intensity. Tinted lip balms are basics, especially for those in middle school or high school who are starting to wear makeup. I cannot stress enough on "starting with the basics"~

For those who are older and are looking to wear lipsticks, I would suggest starting off with nude colors (nude pinks), or what you call "my lips but better" lipsticks. They look better than your lip color, but are natural at the same time. My favorite my lips but better lipstick are the Urban Decay Lipstick (Naked) and the L'Oreal Collection Privee (Jennifer's Nude).

5. BLUSH
It never occurred to me how important blush was to me, until recently. Before, I didn't really care too much for blush because it wasn't essential to me. I didn't include it in my starter kit when I first started wearing makeup. That mentally has changed over the past few years. I feel that blush completes my makeup routine. It adds color to the face, giving you a natural flush to the cheeks. Foundation can make the face look dull and colorless, but blush adds color to it. I feel that if you wear foundation alone, you look lifeless (like a vampire/zombie) because there's no color in your cheeks. Blush can do wonders~ It completes you by bringing color back into your face. Just apply blush lightly and don't over do it, please... I understand that some people apply loads of blush to their cheeks because they like to... but for beginners, my advice is to apply blush lightly. If you're going to take pictures, just add a bit more blush than you do normally because a lot of the times, blush doesn't show up that well in pictures. Just add a bit more by building it up slowly.

A blush that I really love is the Smashbox Love Me blush, but unfortunately, it is limited edition and is discontinued. An affordable drugstore blush is the Wet N Wild (Pearlescent Pink) blush or the Maybelline Fit Me blush.

6. MASCARA
Mascara is an essential to a makeup starter kit. Wearing mascara alone (without eyeshadows) can bring attention to the eyes. When people buy mascara, they look for some kind of function that it does to the eyes, such as lengthening, volumizing, curling, darkening, etc. For someone who is a beginner at makeup, I would recommend finding a mascara that curls and lengthens, but does not clump easily...for a more natural look. Later on, when your makeup skill improves, you can try out volumizing or darkening mascara to see if you prefer it over the more basic mascara. It is up to the person whatever they want their mascara to do, but I personally feel that a makeup starter should start off with something more basic.

So those are the 6 different categories of products I would recommend for a makeup starter kit. Keep in mind, these are the products that I feel should be in a starter kit. There are makeup products that I did not include because I feel like they are not makeup essentials (at least for a starter kit). I hope you find this post helpful. Byeeee! Good luck on your makeup starter kit!

Love,
June♥ 

Hellooooo~
So today, we'll be making an Autumn/Fall Leaves Themed Shadow Box. It's actually really simple to make and it looks great as a room or apartment decor piece! It's a great decorative piece for the fall season, especially if you're really festive. One idea is that you make 3 of these frames but change the placement of the leaves and hang the 3 frames near each other, it'll look gorgeous!

I went to Michaels to purchase a pack of shadow boxes (frames), which comes in 3 frames. The pack of 3 frames were on sale, but in case they aren't, try using coupons (you can get them on the Michaels' website). Each frame comes out to be about $3~$4 each. At Hobby Lobby, I bought the leaves in a pack of 18 for $4.99 but you can also use coupons on them if they are not on sale. You can buy the floral wire anywhere for relatively cheap, especially with coupons. So the lesson here is to always check the craft store's website for coupons. I have the Hobby Lobby and Joanns Apps, I also went online for coupons at Michaels.


What You Need (Supplies)
1. Shadow Box (I got mines at Michaels)
2. Scrap-booking Paper
3. Fake Leaves (from Hobby Lobby)
4. Pencil
5. Scissors
6. Floral Wire (Brown)
7. Tape - Regular tape & Double-sided (Optional)

The Steps:
1.  Take out the backing of the frame.
2. On a scrapbook paper, trace around the back piece of the frame. Cut around the traced lines.
3. Tape the scrapbook paper that you cut out onto the back piece of the frame.
4. Take the floral wire and make a fold at the end of the floral wire, about a few millimeters. Do this for both ends.
5. Insert the folded ends into the leaves (there should be holes on the stems of the leaves for you to insert the floral wire into)
6. Bend the floral wire to make it look like branches.
7. Bend the floral wire in half, but adjust it so that the two leaves are not aligned evenly. Make sure one is longer than the other.
8. Twist the bent end together to make it look like a branch that splits out.
9. Bend the twisted/bent end  and place the back piece of the frame in between the bent part of the wire. (Check video)
10. Tape the wire onto the back piece of the frame.
11. Place the back piece of the frame back onto the frame and secure it.
12. DONE!
Note: I apologize because I know the steps are difficult to understand because it is very difficult for me to explain this. It's easier if you just watch the video.

DIY Video:


June ♥ 

Hi Girlies!
So I've recently splurged on my first ever Chanel product, the Vita Lumiere Aqua foundation. My friend, who is a Chanel Beauty Adviser, introduced me to this foundation because it is her favorite Chanel foundation. She recommended to me based on my skin type and what kind of coverage I need. She said it looks natural and is very light-weight. She helped matched me at the Chanel counter and gave me a sample of it to try out. After trying it out for a good 7-10 days, I fell in love and went on to purchase it! I received a lot of compliments on my foundation. My coworkers  and many of my clients asked me what foundation I use because they noticed how natural my foundation look.

Before I go on with my review, I will explain a bit about my skin type. I have dry to very dry skin, depending on the weather. Normally, I would say that my skin is dry, but during the fall and winter season, it is extremely dry! I tend to get dry patches around my nose and mouth area (and occasionally on my cheeks). I do not have acne-prone skin, but I do have some redness around my cheeks and nose area.

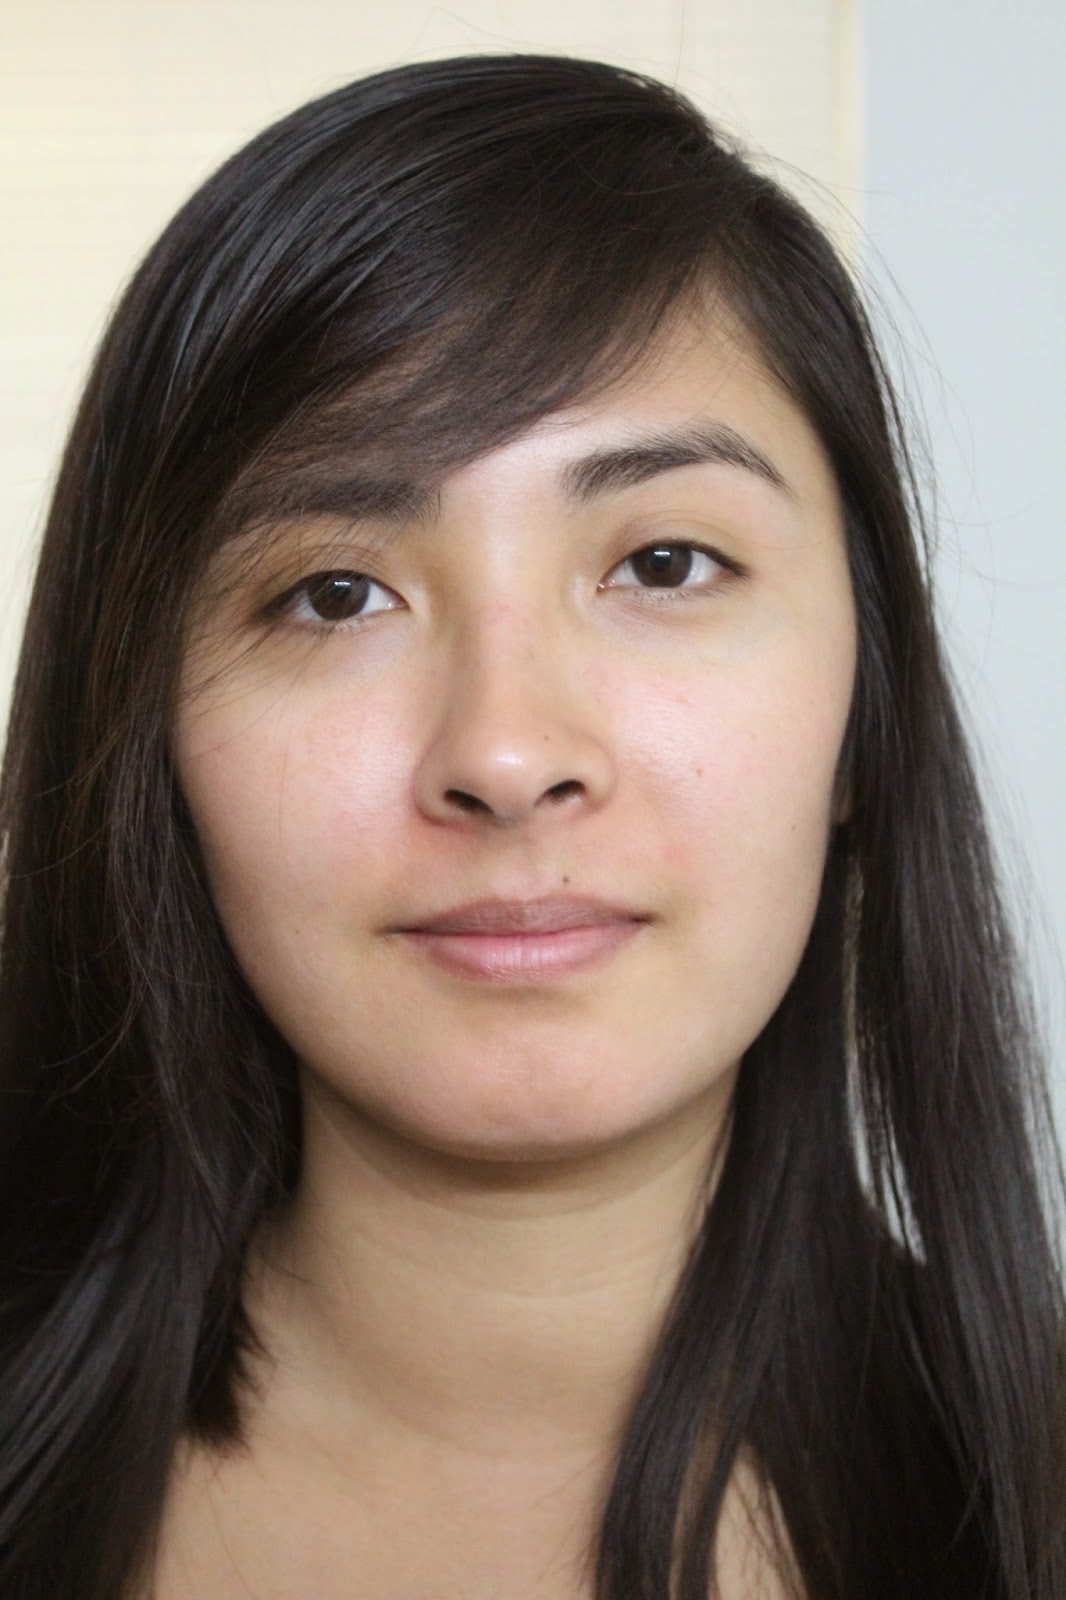
Here is a picture of my bare face, without makeup. This is how it looks during the spring/summer (not too dry).


BEFORE - NO MAKEUP
(Note: I have an allergic reaction at the moment & some red spots started to pop up)


 AFTER - ONLY FOUNDATION
(Note: Still have allergic reaction ehehe)


COMPLETE MAKEUP


CLOSE UP OF FOUNDATION


My thoughts on the foundation:
This is seriously my holy grail foundation at the moment! It is the BEST foundation I have ever used! It is very light-weight, it feels as if I don't have any foundation on. The foundation does not look cakey at all, in fact, it looks flawless and super natural. With just the foundation on alone, my sister couldn't tell that I have makeup on. Everyone I know says that it looks flawless and that makes me look glowing (radiance), and I completely agree! I have decent skin, but the foundation makes my skin look super healthy and glowing. Although it is a sheer to medium (more on sheer side) coverage, it was able to cover my redness areas. When my friend introduced it to me as a sheer and light-weight foundation, I didn't expect it to cover my redness area. However, I think that it conceals more than what I expected it to. It actually conceals everything that I want it to conceal, while evening out my skin, without looking cakey. Since it is not a matte finish, but rather a natural finish, it does not dry out my face, but actually keeps it hydrated. Even without moisturizer, my face does not look patchy (dry patches). Please note that I do not apply powder over my foundation, because my skin is dry. The foundation lasts all day. It looks great after a day out. My blush and bronzer is still there after a whole day out. My face still looks great even after 8+ hours at work. I did notice that after 10+ hours (in the summer), it did look a tiny bit oily in my T-Zone area, but it wasn't even that noticeable. Of course this will be different with people who have a different skin type (normal/combination/oily skin). However, any skin type can use this foundation because it is a water base foundation (oil-free). It's just a matter of how much coverage you want. If you want medium to full coverage, of course this foundation is not for you (but you can build it up to a medium coverage foundation). In my opinion, this is the PERFECT foundation for me so far. It beats all of my other foundations, which are all lying around in my makeup drawer somewhere. I have been using this foundation every single day that I wear makeup. That's how much I love it!

Who I would recommend it to:
1. I would recommend this to people who have dry to very dry skin type, because it does not dry out your face or look patchy.
2. Anyone who wants a light-weight foundation that look natural while evening out their skin. It is an oil-free foundation, which means it is water-based. Anyone can use it.
3. Teens and preteen girls who are new to makeup, who want to even out their complexion without looking too cakey. Many teenagers have nice skin already, this is just to make it look flawless and natural. I would not recommend this to teens who are acne-prone, who want to cover all their acne and scarring.
4. People who are older, who just want to even out their skin tone and look radiant (make their face look less dull). I would not recommend using this foundation if you have a lot of dark spots (from going out to the sun without protection) and you want to conceal all of them.

So I hope this review has been helpful to some of you. It isn't for everyone, but then again, what is? I hope that for those of you who are interested in this foundation and what it has to offer, that you will give it a try. I would recommend asking the Chanel Beauty Advisers (BA) for help, especially with matching your skin tone. Ask questions and ask for a sample foundation! The sample should last a good 10 days, which is plenty of time for you to test out the foundation to see if you like it or not. Try the sample before you buy!

Anyways, that's it for today! Thank you so much for reading & please follow my blog for future reviews!
BYE!!!!!

Love,
June♥ 

Hey there!
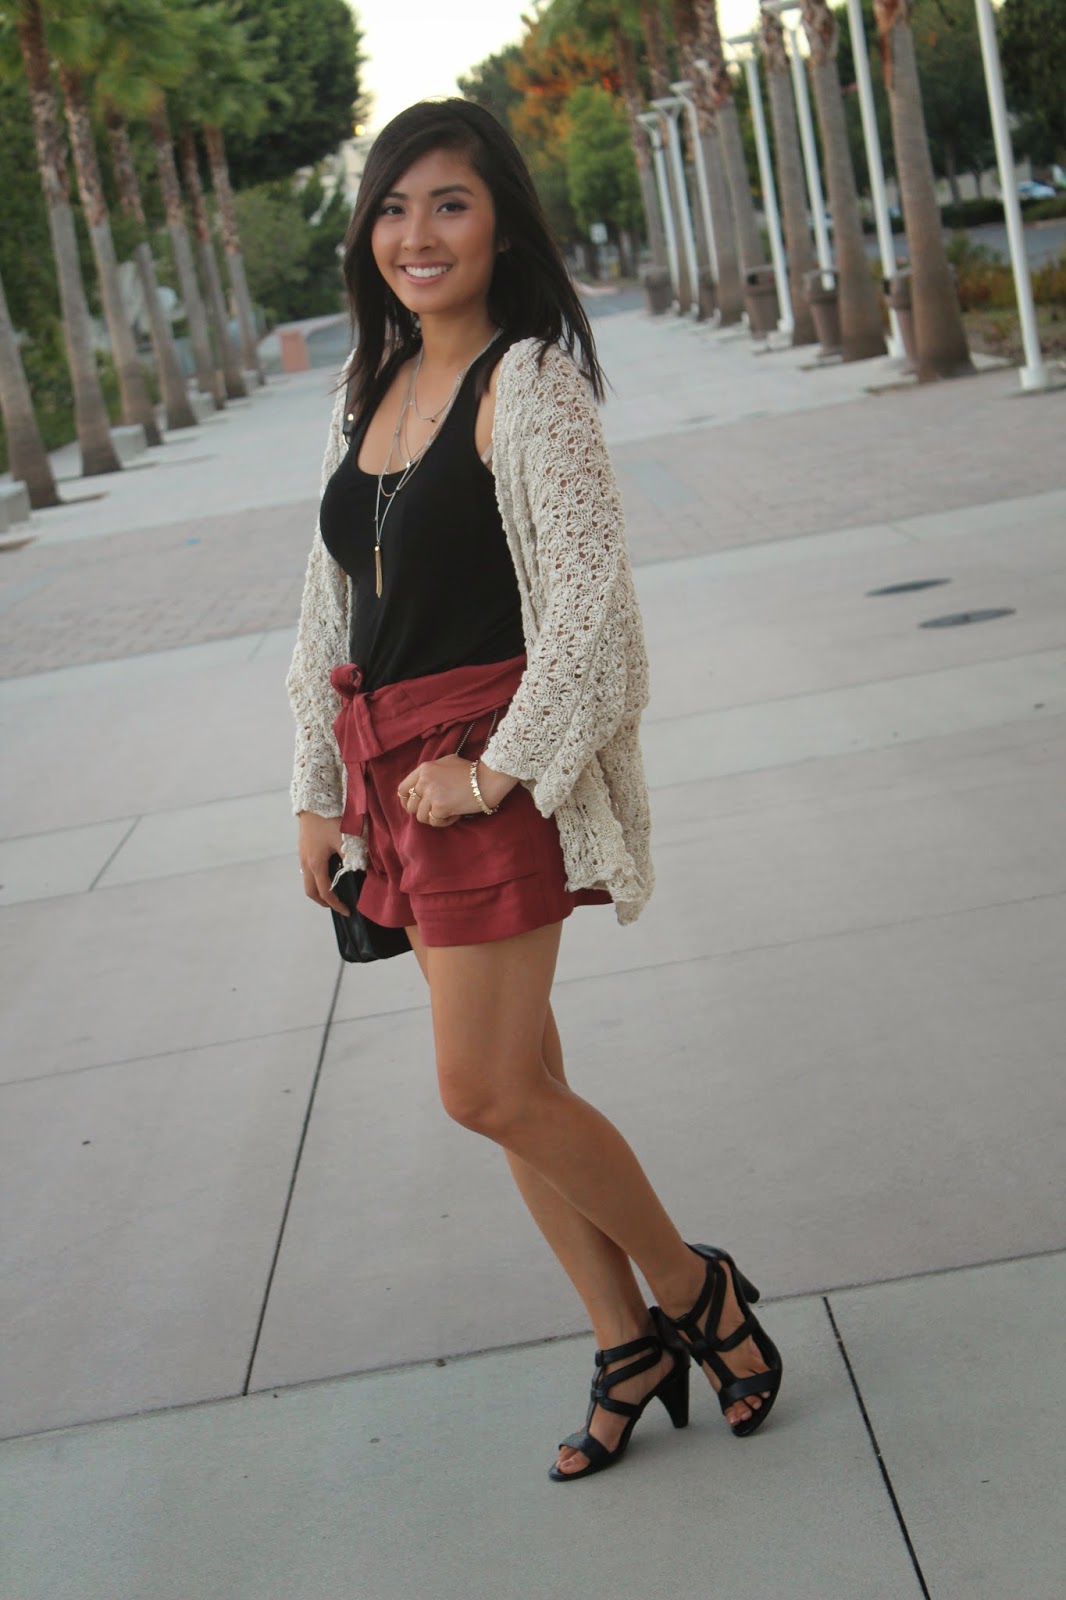
So as you can tell from the title of the post that this is going to be my Fall Fashion Outfits~ I actually have my fall lookbook video up on my Youtube channel ( Click to Watch my Lookbook Video! ) but I figured that it would be nice to post up some pictures for people who prefer looking at pictures. I have to warn you guys that I suck at posing because it's all very new to me!~ I also want to put this out there that these outfits are what I would wear during fall because where I live (Southern California), it doesn't get very chilly...not until winter time, but even so, winter in California is like fall everywhere else. Anywho~ I'll stop talking now so you can take a look at the pictures! 


Hope you like my fall outfits pictures! 

Here's my fall lookbook video if you want a closer look into the outfits: 

Thanks for dropping by, guys! Have a great day!

Love,
June♥ 
Hi there!

So it's been far too long since I've written anything on this blog. I've been super busy with school and work, but since I am on Winter break now, I have more time to do stuff! Horrayyyy! So for the past few weeks, I've been loving this outfit and I will find any opportunity to wear it. It's so wintery and Christmas-y! The outfit is super comfortable but very trendy and well put-together. The color combination of green, red, white, and brown is perfect for the winter season.


Where I got my stuff: 
- Green Utility Jacket: Forever 21
- Christmas Sweater: Yesstyle
- Jeans/Jegging: Hollister
- Purse: Forever 21
- Beanie: Forever 21
- Necklace: Forever 21
- Combat Boots: Guess

This outfit was featured in my Winter Lookbook. If you want to see other outfits, check out my Youtube video! :D Honestly, this outfit was my favorite out of the four outfits I wore because it looks so nice but it is comfortable.


I'll  see you next time~ Byeee! Have a wonderful day and stay safe!

Love,
June♥ 


Hello there!

I've been sorta m.i.a. but now I'm back, ready for fall! It's been blazing hot here in SoCal (Southern California) but fall is coming! The leaves are starting to change and I'm super excited for fall/autumn to come! It's time to bust out those boots that have been hiding in your closet for so long. What I look forward to fall most, in terms of fashion, are boots, sweaters, and cardigans! Fall, in my opinion, is a really romantic season...You know, like in the movies when couples hold hands, walking on a road, and on sides are autumn leaves and trees everywhere? Maybe it's because I watch too many movies and dramas and it's affecting my brains LOL! Anyways, fall is very calming and cozy. Here in the U.S., most people say fall, but somehow the word "autumn" to me sort of describes the season. Why? Because "autumn" sounds so calming, so cozy, and beautiful. When I think of fall or autumn, I think of colors like: brown, red/burgundy, gray, dark greens, and orange. I've incorporated some of these colors in my recent fashion lookbook for the fall. I'm quite glad/happy that I filmed my fall fashion lookbook video right before it started getting hot here in SoCal. Thank God!


If you're interested in where I got each piece of clothing, check out my video. I've posted the price as well as where I got each piece of clothing in the description box of the video: 


Okie dokie, guys. I'm gonna get ready for bed soon. I'll catch up with you later! BYEEEE! :D

Oh! Speaking of fall here's a fall/autumn nail design if you're interested in watching or if you're super bored:


Ok!~ I'm really gonna go now :D BYEEE!

June♥ 
Hi there!

So I'm going back to school this September and I went shopping for school! I have put together six different outfits for back to school and I absolutely lovvveeee it! I'm not excited for school of course, but the outfits are exciting :D hehehe~ Most of these outfits, I feel, fits more for high school because they're more playful and youthful. College outfits to me are more mature-looking/sophisticated. But who's to say you can't wear these outfits in college? ^_^

Here's what they look like:


Which outfits do you like? I like the one with the vest most <3 

Here's the link to my outfits video if you want more in-depth details for these outfits (where I got each piece of clothing & price of each): 


Oh and here's my back to school haul video for most of the clothing items in case you're interested or if you;'re bored xD:


Anywhoooo, I'm going to head to bed now. Hope you have an amazing day/night.

Byeee~ <3

June♥ 
Hello Lovelies!

I'm back for another DIY project! Since I've been obsessed with anything and everything that has to do with the beach, I went on ahead and did a DIY video on how to make a starfish Photo frame. It's so BEACHY! WOOOHOO! Not only is it a good decorative piece, it also makes a great gift! My sister made one for her friend as a birthday gift and her friend loved it! 


Materials!
- A wooden frame (Thick) - I found it at Hobby Lobby
- Glue gun & glue sticks
- Shell or Starfish
- Tape (Optional)
- Paint & paint brush
- Stickers (Scrapbook Stickers) - I got mines from Michael's Craft Store

I'm so happy with the way it turned out! LOVEEE IT! 

If you need a step-by-step instruction, here's the video that I've uploaded. 


Click to watch this DIY tutorial

Anyways, it's getting late :) I've got to head to bed now since I have a lot to do tomorrow :D Good night everyone!

Love,
June♥ 
Hello friends!

How are you? I hope you're having an amazing day today :D I just uploaded a Pretty Little Liars Inspired Outfits video and I'm SUPER HAPPY! I worked really hard on it and it's finally done! I love the introduction to the outfits, which of course has to be sneaky and creepy like in Pretty Little Liars. I'm very happy with the way it turned out ^_^ The pictures came out to be better than I thought, though to me, I feel like it's more of a vampiric look.


I was going to do a simple Little Black Dress video, but somehow I got the idea of doing a Pretty Little Liars version. I wasn't sure if anyone else has already filmed a video for it, so I went to search it up on Youtube. To my surprise, I didn't see any O_o. Anyways, I went on ahead and planned out all the outfits. It took awhile but it's DONE! I had to based it off of the four main characters: Aria Montgomery, Hanna Marin, Spencer Hastings, & Emily Fields. 

Here's the outfits :)
Emily

Aria

Hanna

Spencer

Click to watch the video! :D

It's getting late D: I'm going to head to bed. I've been editing all day, so it's time for me to sleep. Good ngiht everyone <3

Love,
June♥